Frozen pipes are a common issue during winter, and they can cause significant damage if not addressed promptly. When water freezes inside pipes, it expands, increasing the risk of pipe bursts, water damage, and costly repairs. Fortunately, thawing frozen pipes safely is manageable if you follow the right steps. In this guide, we’ll explain how to identify frozen pipes, thaw them safely, and prevent freezing in the future. If you’re ever in doubt or need professional help, CW Pipewise is here to assist with any plumbing emergencies.
Why Do Pipes Freeze?
Understanding why pipes freeze can help you identify and protect vulnerable areas. When temperatures drop, water inside pipes can freeze and expand, leading to blockages or bursts. Certain areas are more susceptible to freezing, including:
Outdoor pipes and garden taps.
Pipes in unheated spaces such as basements, lofts, and garages.
Poorly insulated pipes, especially those near external walls or in draughty areas.
Warning Signs of Frozen Pipes
Before a pipe bursts, there are several signs to watch for:
Reduced or no water flow from taps or fixtures.
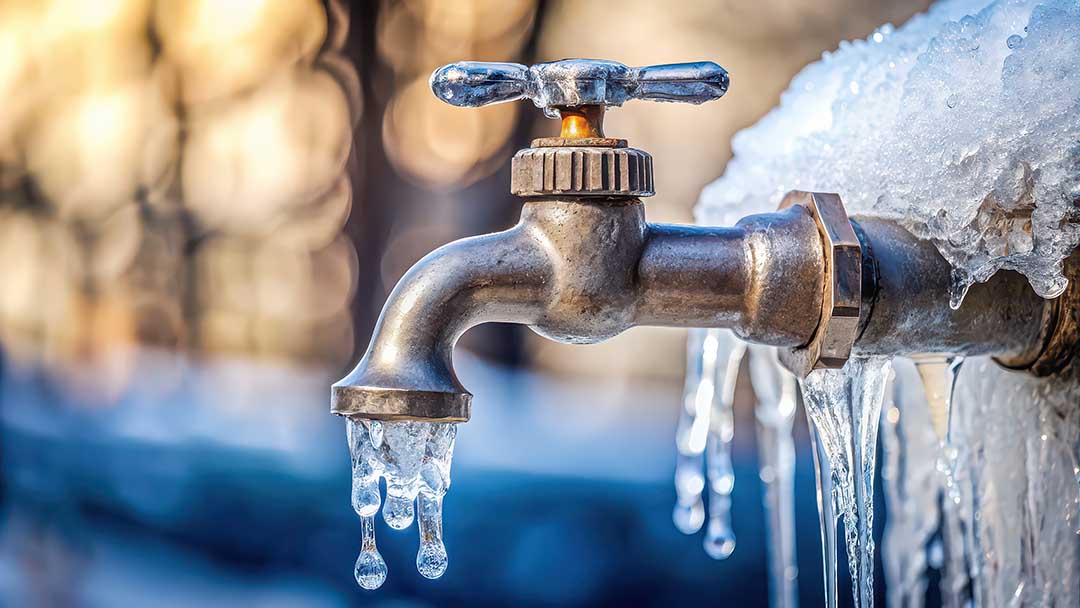
Frost or ice visible on exposed pipes.
Unusual noises, such as gurgling or banging, when you turn on a tap.
If you notice any of these signs, it’s important to act quickly to minimise potential damage.
Steps to Thaw Frozen Pipes Safely
If you suspect you have a frozen pipe, follow these steps to thaw it safely:
Step 1: Locate the Frozen Pipe
Identify the section of the pipe that is frozen. This is often in areas exposed to the cold, such as near external walls, under sinks, or in unheated spaces.
Step 2: Turn Off the Water Supply
Shut off the main water valve to reduce the risk of flooding if the pipe bursts while thawing. Ensure everyone in your home knows where the valve is located.
Step 3: Open the Tap
Open the affected tap to relieve pressure and allow water to flow out once the ice begins to melt. This helps prevent additional pressure buildup.
Step 4: Gradual Heating Methods
Use safe and controlled methods to thaw the frozen pipe:
Hairdryer: Use on a low heat setting and direct the heat along the pipe. Begin near the tap and work your way towards the frozen section.
Warm Towels: Soak towels in warm water, wring them out, and wrap them around the frozen pipe.
Portable Heater: Place a heater in the room to warm the surrounding air, but keep it at a safe distance from flammable materials.
What to Avoid:
Never use an open flame, such as a blowtorch, to thaw pipes. This is extremely dangerous and can damage the pipes or cause a fire.
Avoid using boiling water, as it can crack or damage certain types of pipes.
Step 5: Monitor for Leaks
Once the pipe is thawed, check carefully for cracks or leaks. If you find any damage, leave the water off and contact a professional plumber immediately.
Preventative Measures for the Future
Once you’ve resolved the issue, take steps to prevent frozen pipes in the future:
Insulate Pipes: Wrap exposed pipes with foam insulation sleeves or heat tape to retain warmth.
Keep Heating On: Maintain a steady indoor temperature during cold spells, even if you’re away.
Allow Taps to Drip: Letting a small trickle of water flow through taps during freezing temperatures can prevent ice blockages.
Seal Gaps: Block any draughts around pipes by sealing gaps in walls, floors, and windows.
When to Call a Professional
In some cases, thawing frozen pipes yourself might not be possible or safe. Call a professional plumber if:
The pipe remains frozen despite your efforts.
You discover cracks, leaks, or other damage.
The frozen section of the pipe is inaccessible.
At CW Pipewise, we specialise in handling plumbing emergencies, including frozen and burst pipes. Our team is available to provide expert assistance, ensuring your plumbing system is restored quickly and safely.
Contact us today to learn more about our services or to schedule a visit from one of our experienced plumbers.